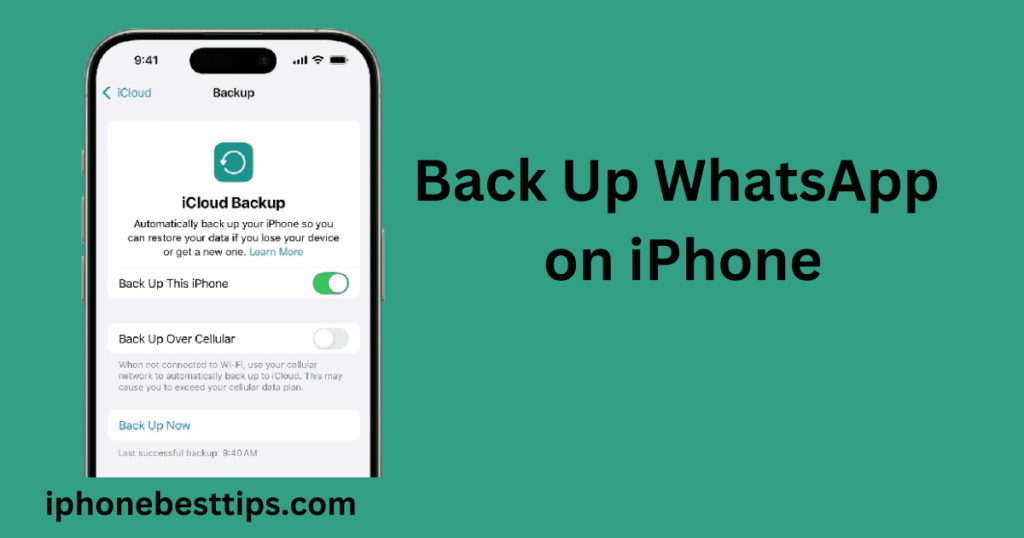
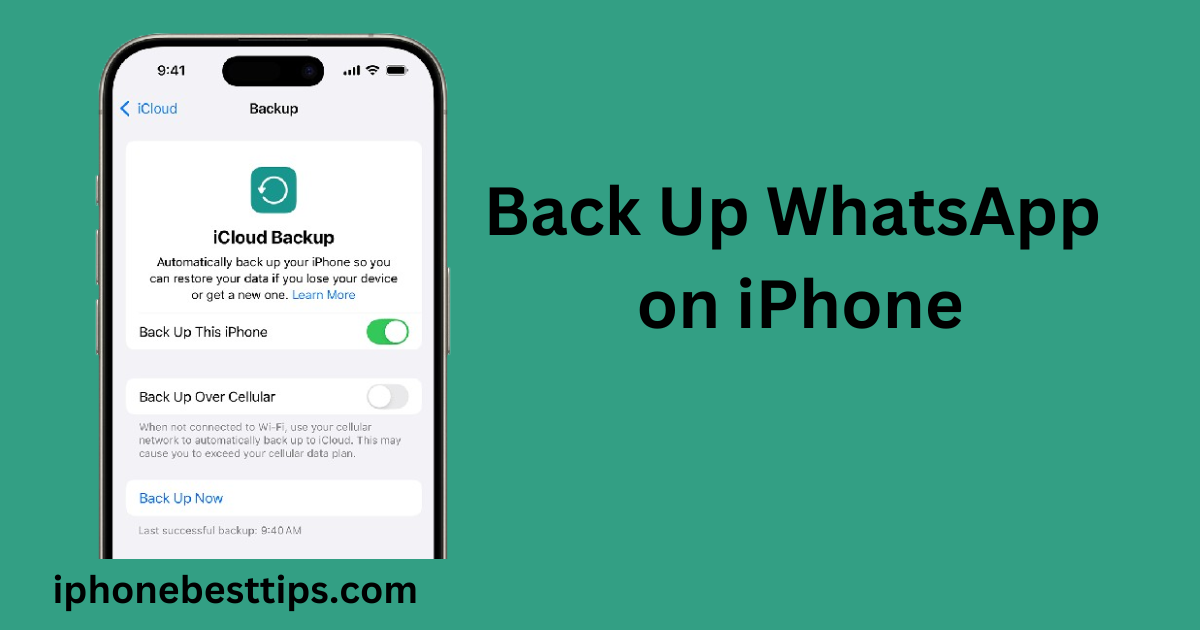
To keep WhatsApp data, media files, and chats safe, it is necessary to backup them. If your iPhone gets lost, you purchase a new mobile, and you can easily restore your data by doing a backup.
This guide Let me tell you how to take WhatsApp backup on an iPhone. Here are the simple steps that anyone can follow. Let me tell you about the iCloud method and our alternative.

Why You Should Back Up WhatsApp on iPhone
Benefits of WhatsApp backup are available.
- There is no chance of data loss for this verification.
- You can restore your data easily.
- There is no need to re-download any file, the data of the app remains safe.
Let’s discuss backup WhatsApp on iPhone.
1. How to Take WhatsApp Backup on an iPhone Using iCloud
iCloud is the easiest and simplest option for backing up WhatsApp on iPhone. Apple’s cloud storage has a feature, which takes automatic backup and is created in iCloud.
Here are steps to take WhatsApp backup on an iphone.
- Go to Settings > [Your Name] > iCloud, then scroll down to WhatsApp and make sure it’s enabled.
- Now, open WhatsApp, tap Settings at the bottom right, then select Chats.
- In the Chats menu, choose Chat Backup.
- Choose Back Up Now. For automatic backups, select Auto Backup and choose daily, weekly, or monthly.
Tip: Using Wi-Fi is recommended for iCloud backups to avoid high data usage.
2. How to Set Up Automatic WhatsApp Backups on iPhone
If you want to take daily, weekly, and monthly backups then you have to enable automatic backup.
Follow these steps, and take Automatic WhatsApp Backup on iphone.
- Open your Whatsapp>go to Settings > Chat, and select Chat Backup.
- Under Auto Backup>backup frequency (Daily, Weekly, or Monthly).
- Toggle Include Videos if you want videos in your backups. may increase storage usage on iCloud).
3. How to Check Your iCloud Storage Before Taking WhatsApp Backup on iPhone
By default, iCloud offers 5 GB of free storage, which can fill up if you’re storing backups (photos, videos, and app data). So before taking a WhatsApp backup using iCloud, ensure you have sufficient storage.
How to Check and Manage iCloud Storage:
- Go to Settings > [Your Name] > iCloud.
- Tap on Manage Storage to view how much storage is available.
- If you’re low on storage, consider deleting unnecessary backups or upgrading to a larger storage plan.
4. How to Restore WhatsApp Backup on iPhone from iCloud
If you have purchased a new iPhone or reinstalled WhatsApp, you will need to restore your WhatsApp backup from iCloud.
Here is how to restore WhatsApp Backup on an iPhone.
- Download WhatsApp from the App Store and open it.
- Enter the same phone number you used before.
- WhatsApp will prompt you to restore your chat history from iCloud. Select Restore Chat History to retrieve your chats and media.
Note: Make sure you’re signed into the same iCloud account and using the same phone number.
Must Read: Convert iPhone photos to JPEG online
5. How to Take WhatsApp Backup on an iPhone Without iCloud
If you don’t want to use iCloud for WhatsApp backups, there are other methods to back up your data.
Alternate Options for Backing Up WhatsApp on iPhone:
- Local Backup via iTunes or Finder: You can also take WhatsApp backups using iTunes (Finder for MacOS). This will back up WhatsApp and other iPhone data.
- Third-Party Backup Tools: You can take backups using third-party tool tools like iMazing or Dr.Fone. which can create selective backups for WhatsApp data. Note these are paid tools.
Note: These third-party tools are used for selective backups of Whatsapp data.
6. How to Back Up WhatsApp Chats on iPhone to Google Drive
When you are using Android, which supports Google Drive backups, this process cannot be directly used in iPhone due to some reasons. However, you can export individual chat histories to Google Drive as a workaround.
Here is how to export Whatsapp chats to Google Drive.
- Open WhatsApp >Go to the Chat> Select the chat you want to back up.
- Tap on the chat name>scroll down>and select Export Chat
- Now, choose Google Drive as Destination>Send the chat as a file to Google Drive.
Keep in mind: This method doesn’t create a full backup, but saves individual chats as text files.
7. FAQS About How to Take WhatsApp Backup on iPhone
Q1: How Often Should I Back Up WhatsApp on my iPhone?
If you want to save important chats and data, taking a backup is important daily, weekly, and monthly.
Q2: Do WhatsApp Backups Take Up a Lot of Space on iCloud?
The answer is YES, especially when you store videos. So before storing, delete large media files like videos.
3: Can I Back Up WhatsApp to a Computer?
Yes, you can backup Whatsapp by using iTunes or Finder on a computer.
Q4: Is There a Way to Password-Protect My WhatsApp Backup?
No, because iCloud does not offer to lock Whatsapp backup especially. But you can use two-authentication on iCloud for security.
Tips to Keep WhatsApp Backup on iPhone Secure
- Use a long and strong password for your Apple ID: This will prevent unauthorized access to your iCloud data.
- Enable Two-Factor Authentication: Adds an extra layer of security to your iCloud account.
- Keep iOS Updated: Use always updated software, it keeps your data secure and compatible with WhatsApp’s latest features.
- Regularly Delete Unnecessary Chats and Media: This reduces the size of your backup, saving iCloud space and speeding up the process.
Final Thoughts
Backing up WhatsApp on your iPhone ensures that your conversations, photos, and videos are safe. By following the steps in this guide, you can easily set up iCloud backups, manage storage, and even explore alternative backup methods if iCloud isn’t an option. Regularly backing up will save you from data loss and make it easier to switch to a new device without losing your chats.
Now that you know how to take WhatsApp backups on your iPhone in multiple ways, you can choose the best method for your needs. Whether through iCloud or other alternatives, keeping your data safe is now easier than ever!

