Creating a Facebook group is a great way to connect with like-minded people, organize events, or promote your interests. If you’re an iPhone user, setting up a Facebook group is a breeze. In this guide, we’ll walk you through how to create a Facebook group on your iPhone and ensure it stands out.
How to Create a Facebook Group on Your iPhone?
Step 1: Open the Facebook App
Open the Facebook app and sign in to your account.

Step 2: Access the Groups Tab
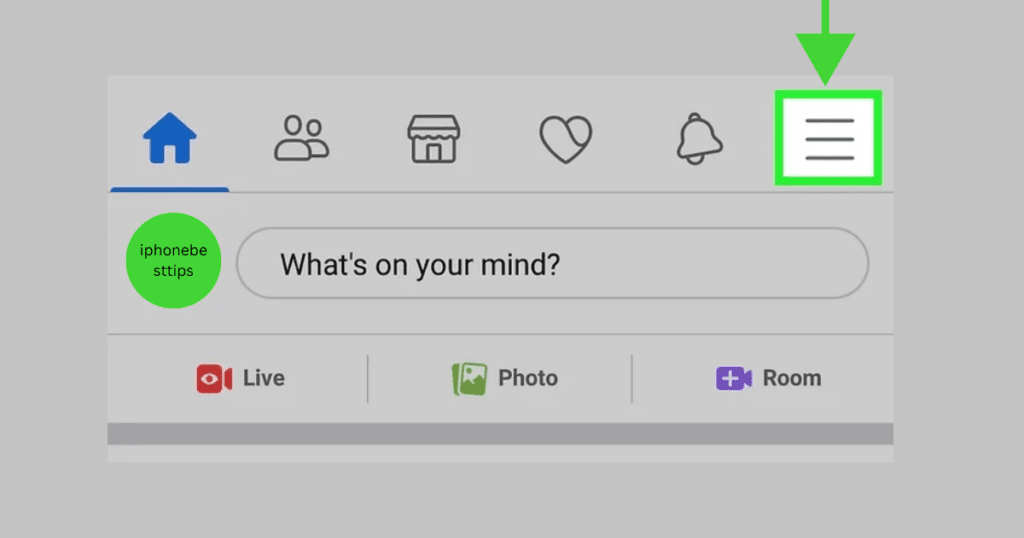
- Tap the Menu icon (three horizontal lines)
- Scroll down and select Groups.

Step 3: Tap “Create Group”
- Once in the Groups section, tap on the Create button.
- You’ll see options to name your group and set privacy settings.
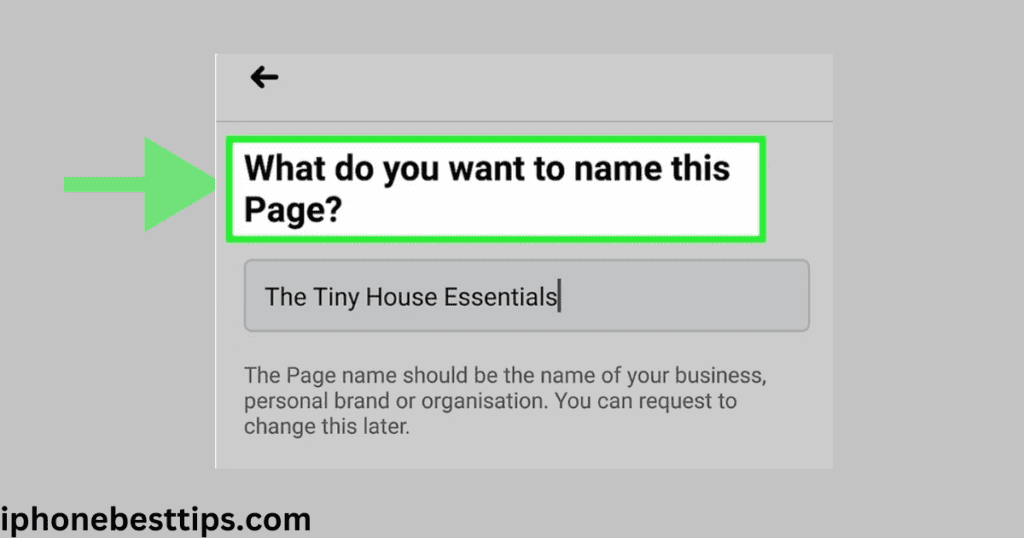
Step 4: Name Your Group
- Enter a name for your group (should be simple and descriptive)

Step 5: Choose Privacy Settings
- Public Group: Anyone can see and join.
- Private Group: Only members can see who’s in the group and its content.
- Hidden Group: Only invited members can find and join the group.
Tip: If your group is for just your friends, choose the private or Hidden option.
Step 6: Add Members
- You can invite friends immediately, or skip this step and add members later.
- Search for members and friends in search abr
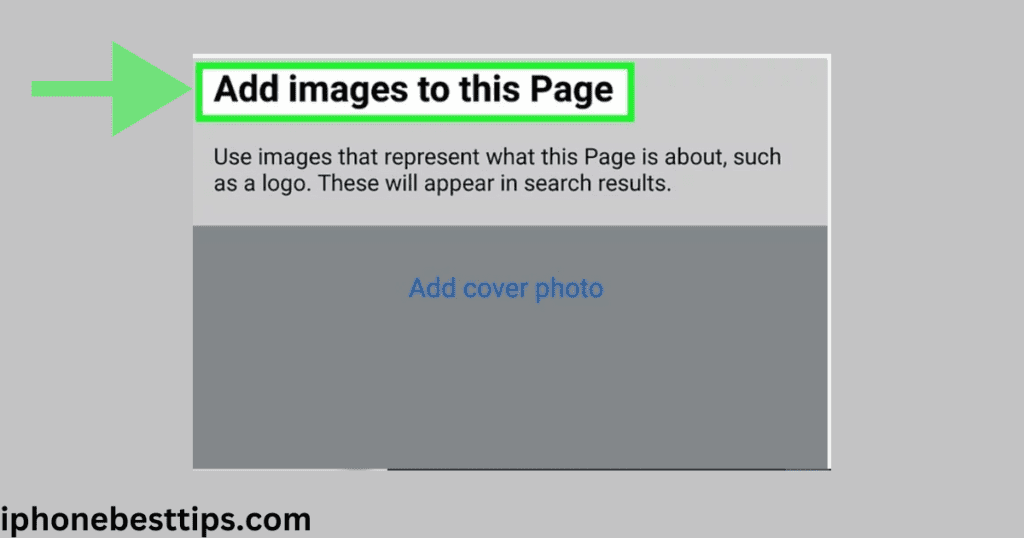
Step 7: Add a Cover Photo
- Upload your favorite picture.
- Tap on the camera icon in the cover photo area and choose a photo from your iPhone.

Step 8: Write a Group Description
- Tap on the Edit Group Settings option.
- Write a description that helps your member to understand the group.
Step 9: Upload Your First Post
- Now, you can upload your post to the group.
- You can pin your post with your members.
How to Manage a Facebook Group on Your iPhone
1. Upload your regular post
Use your iPhone to post updates, polls, or events in your group to keep members engaged.
2. Approve Membership Requests
As the admin, you’ll receive notifications for new member requests. Review and approve these from the Groups tab.
3. Moderate Content
- You can delete unwanted posts by using Admin Tools.
- Set rules for uploading and posting and share with all members.
4. Schedule Posts
Make a schedule post on your iPhone.Click on the Post Option and select the date and time for the post
5. Monitor Engagement
Monitor your engagement of members and check how many members are engaged with posts using the Insight Tool.
Tips for Growing Your Facebook Group
1. Optimize Your Group for Search
- Add relevant keywords and tags in the description
- Enter the LSI keyword according to your name group.
2. Promote Your Group
- Share your group link on other social media.
- Ask your member to invite their friends.
3. Host Events
- Use the Events feature to organize virtual or in-person gatherings.
4. Interact Regularly
- Try to reply to comments and messages as soon as possible.
- Try to keep the discussion lively with members and other friends.
5. You may face the following problems
Problem: Can’t Find the Groups Tab
Solution: Update your Facebook app to the latest version.
Problem: Privacy Settings Not Saving
Solution: Double-check your internet connection and try again.
Problem: Unable to Add Members
Solution: Ensure the people you’re inviting have active Facebook accounts.
FAQs About How to Create a Facebook Group on Your iPhone
1. Can I change my group’s name later?
Yes, you can change your group name through Group Settings.
2. How do I delete a Facebook group on my iPhone?
Go to the group, remove all members, and leave the group yourselves. This will delete the group.
3. How many members can I add to a Facebook group?
There’s no limit to the number of members you can add.
4. Can I make a Facebook group without inviting friends?
Yes, you can make a Facebook group without inviting friends. Skip the “Add Members” temporarily and invite later.
Conclusion
Creating a Facebook group on your iPhone is a simple process. Whether you create a community, events, or business group. So follow these steps to create a Facebook on an iPhone.
