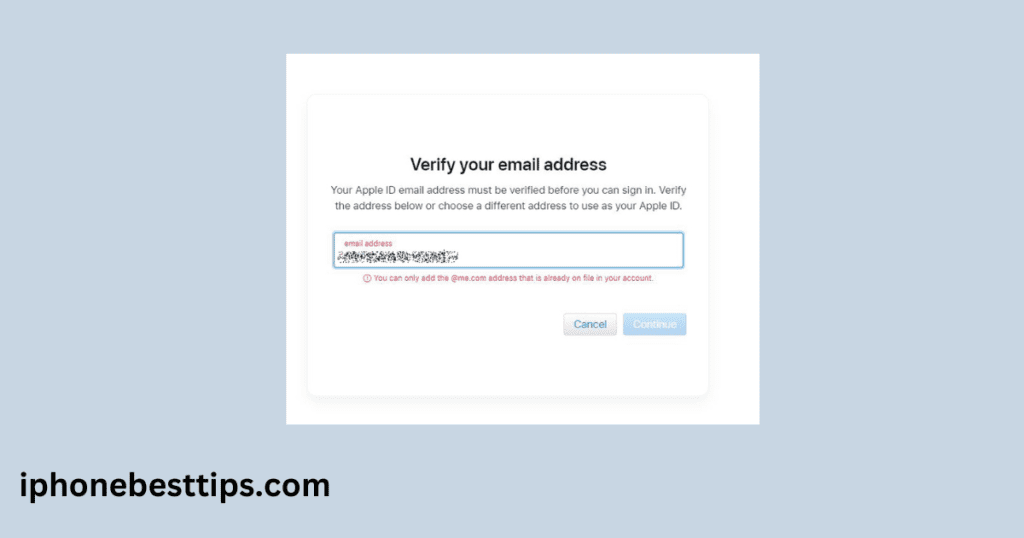
Verification of email on any model of iPhone is a simple process. The aim of this process is that your account is secure and safe from spamming.
In this blog post, we will give you a complete guide on how to verify an email address on an iPhone 11.

Why do we need to verify an email address on an iPhone 11?
Before we delve into the details, it is important to know why we need to verify emails and what it means to verify an email address on an iPhone.
Verification confirms the email address associated with your Apple ID or any third-party account (like Gmail, Yahoo, or Outlook) is accurate.
By verifying, you confirm the email address is active and accessible, which allows Apple and other services to connect securely with you.
Benefits of Verifying Email Addresses on iPhone 11
1. Enhanced Security
The purpose of verifying the email is to have this email or to communicate securely with the rest of the mail provider. Especially to update the accounts or give notifications related to the security of the account
2. Keep Away from Spamming Access
When you verify other emails on your phone, you can easily manage your inbox and block spam messages.
3. Use Advanced Features
Apple has added features you cannot use without ID, such as Find My Phone, Apple ID, and Backup of Data.
How to Verify an Email Address on an iPhone 11
In this guide, we will discuss both ways: how to verify an Apple ID and what the third party is like, like Gmail.
Let us know how to verify an email address on an iPhone 11. Follow this guide.
How to verify an email address on iPhone 11 via Apple ID
Step 1: Sign In to Your Apple ID
- Go to Settings.
- Click on your name or picture at the top of the screen.
- Make sure you’re signed in with your Apple ID.
Step 2: Find the Verification Email
- Now, open your email inbox.
- You will find an email which is sent by Apple for verification email address.
- Open this verification email message, which is titled “Verify your Apple ID email address.“
Step 3: Complete the Verification
- After this click on Verify Now link.
- Follow all instructions to confirm your Apple ID.
- Enter your Apple ID password for security reasons(you may be asked).
Once completed, your Apple ID email address is verified, and you can access all Apple services without issues.
How to Verify an Email Address on an iphone 11 via Third-Party
If you use a third-party email account like Gmail, Yahoo, or Outlook on your iPhone 11, you’ll also want to verify that these accounts are correctly set up and working.
Step 1: Add Your Email Account to the iPhone
- Open Settings.
- Scroll down and tap Mail.
- Select Accounts > Add Account.
- Choose your email provider, such as Gmail, Yahoo, or Outlook, and sign in.
Step 2: Check for Verification Instructions
- Some email providers send a verification link or code to the email you’re trying to add.
- Open the Mail app or sign into your email account on a web browser to check for a verification email.
- If there’s a verification email, open it and follow the link or enter the code to confirm your account.
How to Verify Email Address for iCloud on iPhone 11
If you use iCloud Mail, follow these steps to verify your iCloud email address on your iPhone 11:
- Go to Settings > [Your Name] > iCloud.
- Tap Mail and ensure iCloud Mail is turned on.
- If you haven’t set up an iCloud email yet, you’ll be prompted to create one and verify it through your primary Apple ID email.
After setting up iCloud Mail, Apple will automatically verify the iCloud email address from you.
Problems with Email Verification on iPhone 11
Sometimes, you might face issues while trying to verify your email address. Here are some common problems and solutions to help you complete the process smoothly.
Problem 1: Didn’t Receive Verification Email
If you didn’t receive the verification email, here are some troubleshooting tips:
- Check Spam or Junk Folder: Verification emails can sometimes be marked as spam, so check your junk or spam folder.
- Resend Verification Email: Go to Settings > [Your Name] > Name, Phone Numbers, Email, and tap Resend Verification Email.
- Wait a Few Minutes: Sometimes, there’s a delay in receiving the email. Wait for about 5-10 minutes and check again.
Problem 2: Verification Link Not Working
If the verification link doesn’t work:
- Copy and Paste the Link: Instead of clicking the link directly, copy it and paste it into your browser.
- Clear Cache and Cookies: Clearing cache can sometimes fix link issues. Go to Settings > Safari > Clear History and Website Data.
Problem 3: Verification Code Not Accepted
If the code doesn’t work:
- Double-check the Code: Ensure you entered the correct code sent by Apple or your email provider.
- Request a New Code: Some providers allow you to request a new code if the previous one fails.
Verifying Additional Email Addresses for Your Apple ID on iPhone 11
If you have more than one email address associated with your Apple ID, you can verify each one to ensure seamless communication across Apple services.
Step 1: Add a Secondary Email to Apple ID
- Go to Settings > [Your Name] > Name, Phone Numbers, Email.
- Tap Edit next to the “Contactable At” section and choose Add Email or Phone Number.
- Enter the new email address you want to associate.
Step 2: Verify the Additional Email Address
Apple will send a verification link to this email. Open your inbox, locate the email, and follow the instructions to verify.
Must read this: Unlocking an iPhone without an Apple ID
How to Verify Work or School Email on iPhone 11
For users who use a work or school email on their iPhone 11, verifying this account is essential to accessing related apps, resources, and data.
- Open Settings > Mail > Accounts > Add Account.
- Select Microsoft Exchange or Other, depending on your provider.
- Enter your work or school email credentials and any required server information.
- A verification email or code might be sent to confirm your identity. Follow the instructions in the email to verify.
FAQs: How to Verify Email Address on iPhone 11
1. Why Can’t I Verify My Email Address on iPhone 11?
Ensure your internet connection is stable, check spam folders for the verification email, and make sure the email address that you’re using is correct.
2. Can I Change My Primary Email Address on iPhone 11?
Yes, go to Settings > [Your Name] > Name, Phone Numbers, Email, and add a new email. Once verified, you can make it the primary email.
3. How Long Does It Take to Receive the Verification Email?
It usually arrives within seconds to a few minutes. If it doesn’t appear, wait a few minutes or resend the verification.
4. Do I Need to Verify My Email for Each App?
Not necessarily. For Apple services, verifying once is sufficient. However, third-party apps may require their email verification.
5. Is Verifying My Email Necessary for iCloud and Apple Pay?
Yes, verifying your email is required to use iCloud, Apple Pay, and other services securely.
Conclusion about How to Verify Email Address on iPhone 11
Verifying an email address on an iPhone 11 is an easy but essential step for account security and full access to Apple services. By following these steps, you’ll complete the verification process without any issues. Whether it’s for your Apple ID, iCloud, or third-party email accounts, verification ensures you get the best experience from your iPhone and stay connected with important updates.
Remember, if you face any challenges, don’t hesitate to revisit the troubleshooting section or consult Apple Support for additional assistance.

